If you're looking for the Advanced Toothpick Doll Tutorial advertised in the Angela Michelle Dolls Newsletter, click here. If you don't receive the Angela Michelle Dolls Newsletter & feel hopelessly out of the loop, click here.
This week I'm showing off some of my very first dolls (from about 15 years ago), done in the first fledgling years of my career as a teenage doll-maker.
Today I would like you to meet...
A few of the typical dolls I used to do (typical other than martians & Star Wars, I mean).

A stylin' curlytop with an oh-so-chic butt skirt. About the same time I picked up on toothpick dolls, someone gave me a little container of various felt shapes - circles, hearts, ovals, flowers, etc. This, along with some lace scraps, became my accessories of choice when fashion designing for the toothpick community (a highly overlooked demographic group, by the way).
This Lady in Blue models a green felt flower folded in half for her purse, & a black felt oval draped over her head in something that hopefully resembles a hat. The decoration on the hat is a piece cut out from a strip of lace. The innovation of a 13-year-old - something I wish I had back, at times!

When fashion supercedes function, you know you've hit high design. This look features a huge pink felt heart draped across the arm & accented with bits of lace. Not sure she can move that arm, but toothpick dolls have never really clamored for ease of movement, luckily. Her hair is set in a style that was supposed to make it look like her bangs were draping down over one eye, but instead kind of makes her look like she forever has her head turned to the side. Looking at...?
 Ah, one of my first attempts at a full skirt & other drape-y things. I was quite proud of this Princess-Lady when I made her so many years ago. She had looong hair (down to her feet) and a little crown-tiara thing going on. Unfortunately, she met the fate that a few dolls met during those beginning years - she had her neck broken while I was carrying her around in my jeans pocket at school. I did learn...

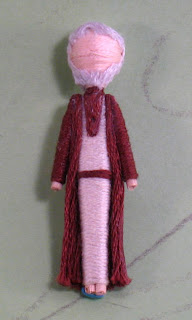
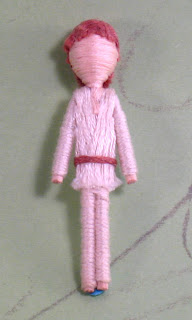
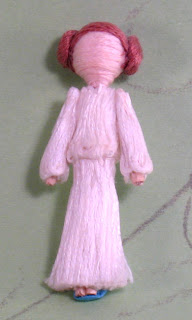
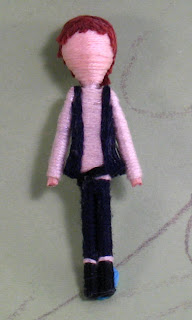


 Just kidding :) We'll start a little slower. Seriously, though - if you have questions or would like to know more about making toothpick dolls, ask! I'll be doing more tutorials, & can certainly fit your curiousity into the tutorial schedule.


 Regardless, you're going to begin the same way. Put down a line of glue that starts behind one ear, comes up across the forehead, & ends behind the other ear. (No, there are no actual ears. You're making a craft! If your imagination isn't on yet, now would be a good time to flip the switch.) You're basically tracing the doll's hairline. Now follow that line with your first piece of thread (see picture above). When using curly hair, you'll have to finagle the thread a tad to get it to lay down in a straight line. Again, straight hair is all the rage with beginner dolls. Perfect for preventing nervous breakdowns.
 Take a deep breath, ya done good. Now do it again, & keep right on going until your doll is bald no more. You'll be pretty good at the glue, thread, glue, finagle, thread, deep breath, glue, thread routine.

 Start your thread where your shoulders left off & wrap along the toothpick until you reach the end. From here on out, just wrap back & forth along that toothpick until you get a head-shape. Don't worry - there are pictures to follow! I'm not just leaving you with that.
 Put some drops of glue around the top & chin of your head (well, your doll's head, then). With your finger, smooth the glue OVER THE ENTIRE HEAD. Try to do it in just a few smooth wipes, then let the head dry. The glue will dry clear.
 Start your shoulder at the back of your doll, about 1/2 down from the neck. Glue the end of the thread in place between the arms.
 Now flip the doll over & put a light line of glue down both arms from the bottom of the shoulders up to the neck, like in the picture above. If you want a little added security, put a line of glue on the front as well. Don't get too glue-happy here - you don't want glue squishing out between the threads. Your doll will appreciate your restraint.
  Take your time & start wrapping the thread around to form the shoulders. Wrap up toward the neck. Try to get the wraps as close to each other as possible. The glue will go a long way towards making your thread stay in place, but you may need to press it in place some with your finger as well. Go slow, take your time, don't stress. If you end up with a messy spot on your shoulders, we'll stick a bow on it at the end. Oh, the wonderful power of bows!
 Keep wrapping up until you get to the neck. Wrap a couple times around the neck, then end the thread. Tada! You have shoulders! Go you.
 Just start wrapping the thread around the doll, going toward the feet. Try to keep your wrapping pretty close together, so you don't end up with gaps in the doll's dress (how embarassing!)
 To end off, just clip the thread & glue it down. I've ended mine shorter, because I want to add a stripe to the bottom of the dress. Now don't get too fashion-designer on your first doll, but go ahead & add a stripe or two if you'd like.
 To do the arms, start the thread at the pointed end & wrap down to the hand. NOTE: You don't have to start the thread at the very tip of the point - you'll see I started about 1/4" down. That part will be covered by the shoulders, so save your eyes & patience! When both arms are done, glue them on.
 Pull out your ruler, toothpicks, scissors (BIG PAIR!) & pencil.
 Congratulations! You have a body! Now don't touch it again until all that white glue turns clear. You wouldn't want crooked legs!
 Here's the third member of the worker elves' party. The prince has stepped out of the shot for this one & no wonder - her hat isn't finished yet! It still looks a little odd, & the prince is a little too worried about bad press to be seen with her quite yet.
  There! Hat done, shoes tipped, she's ready for work, if you can convince her to leave her flowers for a moment. There's a certain question she's been asking the daisies for a while now, & I'm afraid we're not going to get any work out of her just yet! Oh, look - the Prince has come back. You may want to cover your ears, though - as he may begin to serenade, as he's heard that all princes are supposed to do.


